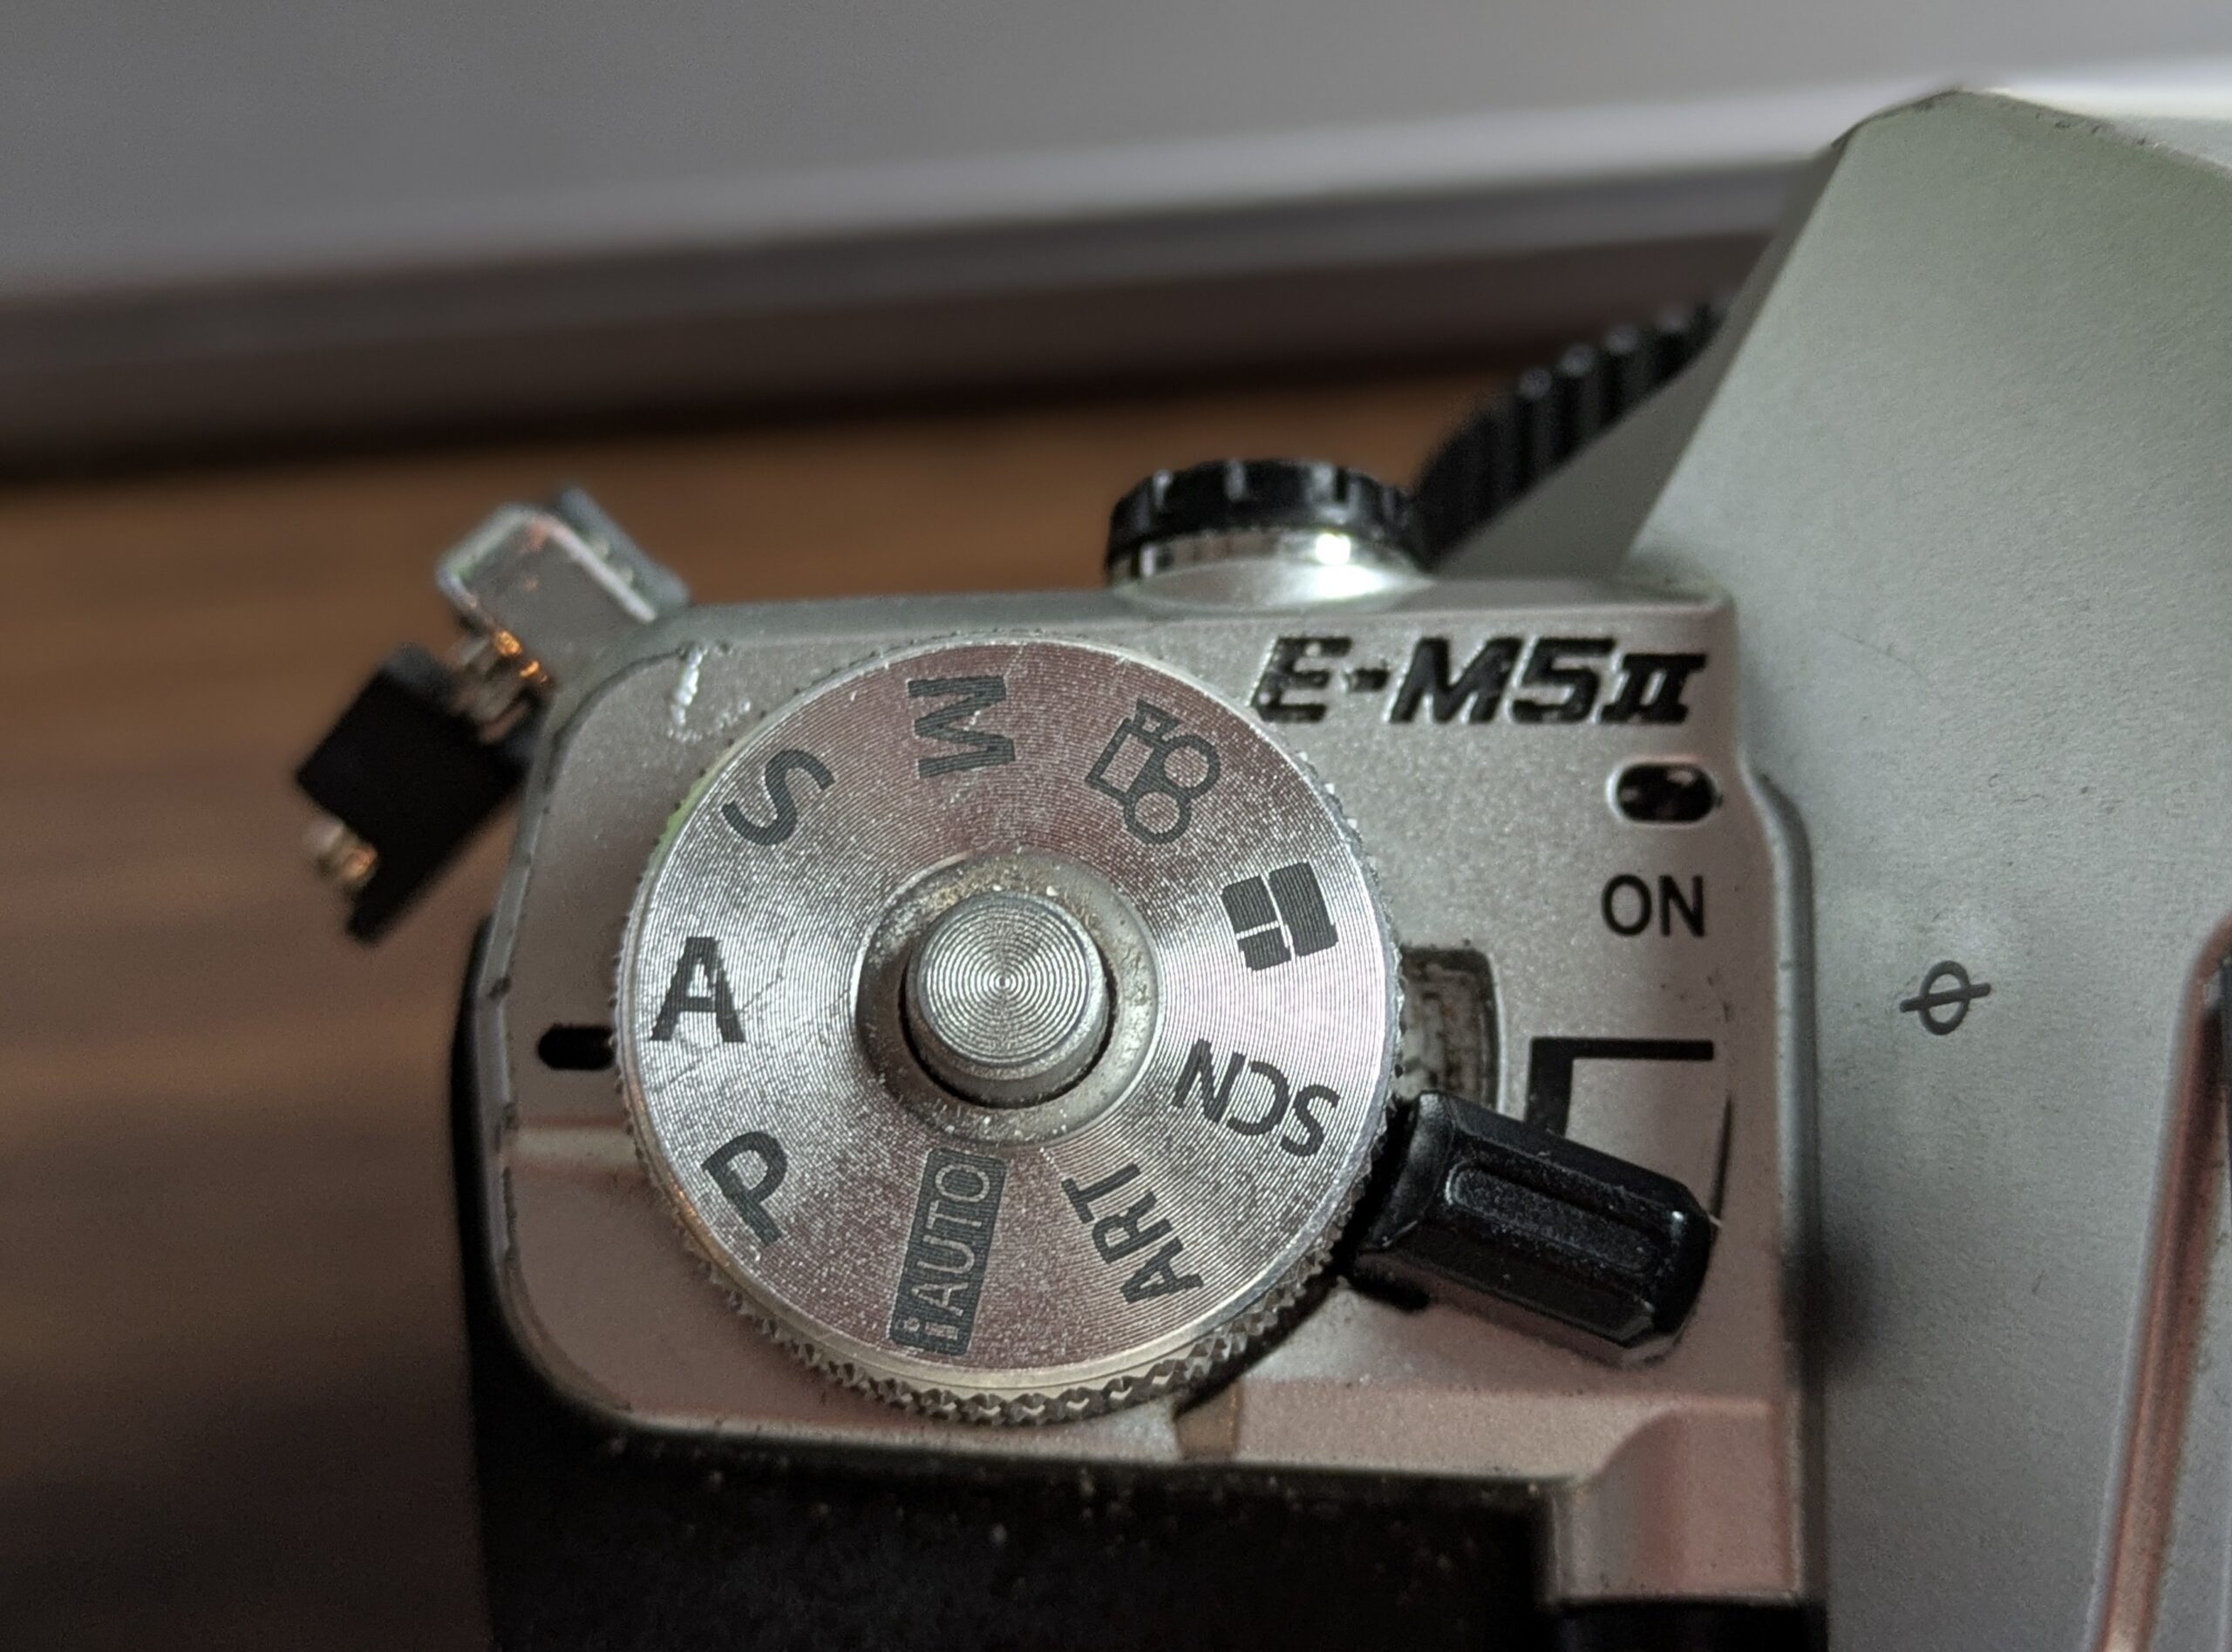

On top of most cameras (all?), you’ll see a mode dial. You’ve probably noticed the letters PASM staring back at you. You might also have spotted the word “AUTO” or something that says, “Hey, just use autofocus.” (Which is fine.) What do all these mean, and why would you ever pick one over the other?
These modes control how much light reaches your camera’s sensor, and on the way to that, where you want to pay more attention or less, which determines whether your photos are properly exposed (not too bright or too dark). A lot of this is handled for you in AUTO mode, and your smartphone did that and even more for you, so it’s okay to feel a bit anxious looking through your settings.
Starting with Auto Mode is Fine
Let’s address this first: it’s completely okay to start in full automatic mode. Every photographer has shot on auto. The best photographers STILL use auto mode when it makes sense. There’s no shame in it. The camera handles aperture (how wide the lens opens), shutter speed (how long light enters), and ISO (sensor sensitivity to light). You frame, shoot, and move on. (We’ll talk about that more in a bit.)
Auto mode works reasonably well in normal lighting. Where it struggles is anything unusual: a dark concert, a bright beach, a backlit subject. The camera can’t tell what you’re trying to capture, so it makes generic choices that sometimes miss your intent. That’s when you start asking, “Is there another way to do this?”
When you get the feeling that auto mode has failed you in these situations, you’re ready to move on.
The Exposure Triangle
Before we talk about shooting modes, you need to understand one concept that ties everything together. Exposure is controlled by three settings, and they all affect each other. This relationship is called the exposure triangle.
The three points of this triangle are aperture, shutter speed, and ISO. Change one, and you have to compensate with the others to maintain the same brightness in your final image. I made a YouTube video for you, if you prefer learning this way.
Here’s what each leg of the triangle does:
Aperture controls the opening in your lens that lets light through. It’s expressed as an f-number like f/1.8, f/4, or f/16. Confusingly, smaller numbers mean wider openings and more light. A lens set to f/1.8 is very open; f/16 is very narrow. Aperture also affects something called depth of field, which is how much of your photo stays sharp. Wide apertures (f/1.8) create that blurry background you see in portraits. Narrow apertures (f/16) keep everything sharp from front to back.
Shutter speed determines how long the sensor is exposed to light. It’s expressed in fractions of a second: 1/1000, 1/250, 1/30, and so on. Fast speeds like 1/1000 let little light in but freeze motion. Slow speeds like 1 full second let in lots of light but create motion blur. Fast is relative here: the “right” speed depends on whether your subject is moving.
ISO is your sensor’s sensitivity to light. Low ISO (100, 200) is less sensitive and produces cleaner images but needs more light to work. High ISO (3200, 6400) is very sensitive and works in darkness but introduces grain (tiny colored speckles). Think of ISO as amplifying the light signal. More amplification means more noise.
Two things to know about ISO. I feel if you get your shutter and aperture where you want it, you then let ISO (I set mine often to auto) “fill in” the rest of the light required to see what needs seeing. It USED TO BE that too much ISO on a photo added a massive heavy grainy/noisy effect that was unpleasing. First, modern cameras handle it better. Second, most editing software like Adobe Lightroom, Photomator, etc, often have an AI “denoiser” effect to take some of that ISO back out.
Ultimately, the goal is to balance all three to get an image that’s properly exposed (not too dark, not blown out), while achieving the look you want. A dark concert venue might push you toward a fast lens, high ISO, and slow shutter speed. A bright landscape might use small aperture, fast shutter speed, and low ISO.
One more detail here: if you need to see more of the scene in focus, you might have to push your aperture high (to say f8). If you have fast moving subjects like kids or birds or cars racing by, if you don’t want to introduce blur, you’ll need your shutter to be reasonably high (maybe 125, 250, 500). If you’re trying for those two settings in DARKNESS, you’re going to have to decide what to sacrifice to get the right shot. (This is the finesse of learning to shoot. Practice is what helps you learn this.)
The PASM Mode Dial
Now that you understand the exposure triangle, let’s talk about the four main shooting modes. PASM is an acronym for Program, Aperture Priority, Shutter Priority, and Manual.
Program Mode (P)
Program mode is semi-automatic. The camera chooses both aperture and shutter speed for you, but you gain control over other settings like ISO, white balance (color warmth), and whether the flash fires.
Think of it as auto mode for people who want a tiny bit more control but aren’t ready to manage the exposure triangle yet. The camera typically picks middle-of-the-road settings that work for standard scenes.
Program mode is useful if you need to grab a shot quickly but want to stay engaged with your camera. It’s better than full auto because you can override the ISO or disable the flash if needed. Many photographers skip this mode entirely and go straight to the semi-automatic modes.
Just for the record, I don’t think I’ve chosen program mode EVER on any camera I own.
Aperture Priority Mode (A or Av)
This is where the magic happens for many photographers.
In aperture priority, you choose the aperture value you want (because it controls depth of field, what you’re thinking about), and the camera automatically sets the shutter speed to get correct exposure. You also control ISO.
Why is this popular? Because aperture is often what you care most about. If you’re shooting a portrait and want a blurry background, you want a wide aperture. If you’re shooting a landscape and want everything sharp, you want a narrow aperture. Once you pick your aperture, the camera handles the grunt work of adjusting shutter speed to match your lighting.
Example: you’re photographing a person outdoors with trees behind them. You set aperture to f/1.8 (wide, for that blurred background). In bright sunlight, the camera chooses 1/2000 of a second. Under an overcast sky, it might choose 1/500 or lower. The aperture stays put; the camera just adjusts shutter speed to balance exposure.
The catch: if you’re in really dim light and pick a narrow aperture, the camera might choose a shutter speed so slow that your photo blurs from camera shake. This is why aperture priority works best when you have plenty of light or you’re comfortable raising ISO. (I ruined a TON of photos not paying attention to this specific “catch,” by the way.)
Aperture priority is ideal for portraits, landscapes, and anything where background blur matters. Many photographers use this mode for the majority of their work.
Shutter Priority Mode (S or Tv)
In shutter priority, you choose the shutter speed, and the camera sets the aperture. You also control ISO.
This mode exists for one reason: freezing or showing motion. If you’re photographing birds in flight and need 1/1000 of a second to freeze their wings, set that speed and let the camera pick the aperture. If you want motion blur in a flowing stream and set 1 full second, again, the camera handles aperture.
Shutter priority is essential for action photography, sports, wildlife, or anything moving unpredictably. It’s less commonly used for static subjects because aperture usually matters more to your creative intent.
The downside: depth of field (background blur) becomes inconsistent. In bright sun, f/16 might be chosen. In shade, f/2.8 might be chosen for the same shutter speed. Your backgrounds will look different from shot to shot.
I tried bird photography a few days back and got a bunch of blurry birds because I wasn’t controlling my shutter well enough. Whoops.
Manual Mode (M)
Manual mode puts you in complete control. You choose aperture, shutter speed, and ISO. The camera doesn’t decide anything related to exposure.
This sounds liberating but it’s actually a lot of decisions per shot. For beginners, manual mode is overwhelming. You have to think about all three points of the triangle constantly, which pulls focus from composition and the moment you’re photographing.
Manual mode shines in specific scenarios: studio photography with controlled lighting, multiple strobes, or situations where the camera’s meter (light sensor) gets confused by unusual lighting. It also works for landscape photography where lighting doesn’t change and you can set everything once and shoot.
For a first-time user, don’t spend much time here. Master aperture priority first, then add shutter priority for specific situations. Manual will make sense later.
One side note, though. On more advanced cameras (My Sony A7iv does this), you can set kind of a “fake” manual mode, or like manual mode with guard rails. You can say “manual BUT don’t ever let the shutter go below 1/125” or “manual BUT you can still handle ISO mode” etc. You CAN do it, and I have. But then I switched to an older camera that didn’t have those options and I learned how bad I was at manual mode, all over again.
Where to Start
Writing these for you, I’m trying to balance giving you all kinds of information, but also trying to give you some “just do this to start” advice.
Here’s the simple path: start with aperture priority. Pick your aperture based on how much background blur you want. The camera handles shutter speed. If the shutter speed gets too slow (your camera will tell you), raise ISO to compensate. This one mode covers most photography.
I do f1.2/1.4/1.8 for portraits. I do f.8 for landscapes and street scenes. Sometimes f11 for even deeper landscapes. But then, if it’s night, I try to balance aperture with what light is available, so I keep it more towards open and hope my shudder doesn’t drop so low that the shots are blurry.
When you need to freeze motion or show motion, switch to shutter priority. Set your speed, let the camera choose aperture, and again, raise ISO if needed.
Skip program mode and manual mode for now.
The Exposure Triangle in Practice
Let’s say you’re outdoors at sunset, shooting a portrait.
You want background blur, so you set aperture to f/2.8 (aperture priority, your choice). The camera meters the scene and chooses shutter speed automatically. It picks 1/250 of a second. Exposure looks good. You take the shot.
A cloud passes overhead. Less light hits the sensor. The camera realizes it needs more light to maintain the same brightness. Automatically, it slows shutter speed to 1/125. But at 1/125, you risk blur from camera shake. So you manually bump ISO from 400 to 800, which lets the camera speed up shutter to 1/250 again. Exposure stays balanced, sharpness is preserved, and your aperture stays at f/2.8 so your background remains blurry. (And honestly, I let my ISO go wild at least on my full frame camera. It has permission to go all the way up to 12,800).
This constant adjustment is what’s happening inside every semi-automatic mode. You’re trading off these three settings to get what you want.
Set Your Camera to Shoot Both Raw and JPEG
Most cameras can save images in two formats: JPEG and RAW. Let’s talk about why you might want both, especially to start.
A JPEG is compressed and processed by your camera. It’s smaller, ready to share immediately, and looks finished straight out of the camera. There’s also only 8 bits of color at play here.
A RAW file is the unprocessed data that comes directly from your sensor. It’s much a larger file, looks flat and dull on the back of your camera, and requires editing software to process. But a RAW file contains 12 to 16 bits of color information, meaning thousands of brightness levels per channel.
Why does this matter? A RAW file preserves detail in shadows and highlights that a JPEG discards. If you over-expose or under-expose a JPEG, you’ve lost information and recovery is limited. A RAW file, having captured so much more data, forgives exposure mistakes. You can pull back blown-out skies, brighten crushed shadows, and adjust white balance (color warmth) more radically than a JPEG allows without artifacts.
Here’s the practical bit: if your camera supports it, shoot RAW and JPEG simultaneously. You get a JPEG for quick sharing or review, and a RAW file as a safety net. If you need to fix exposure or color later, you have the RAW file to work with. If the moment was perfect and the JPEG looks good, use it as is.
The downside is storage. RAW files are 2 to 3 times larger than JPEG. You’ll need bigger memory cards and external hard drives. But storage is cheap now, and the flexibility RAW provides is worth it if you ever take editing seriously.
If you’re just starting, it would make sense that you’d think you should shoot only in jpg mode. The thing is, if you mess up a shot in the moment, but you have a RAW file to look at later, you might be able to save something that came out super dark or far to blown out and bright. (It’s easier to raise up a dark photo than darken up a light one, fyi). I recommend shooting JPEG+RAW in the short term. You just might have to buy an external hard drive to store all those files.
Your Next Move
You now understand exposure, the PASM modes, and why your camera offers multiple options. The path forward is straightforward: pick aperture priority, learn to think about depth of field, and practice adjusting ISO when light changes.
The rest will follow naturally from there. Above all else, get out and shoot and practice more. You’ll enjoy the experience so much better.
Leave a Reply